


In the bustling world of culinary arts, a food processor stands as an indispensable ally, simplifying a myriad of tasks from chopping vegetables to kneading dough.
But before you can unleash its full potential, understanding the nuances of its assembly is crucial.
Each brand, be it Cuisinart, Ninja, KitchenAid, or Black & Decker, brings its unique design and features, making the assembly process slightly different for each.
This comprehensive guide aims to demystify the assembly process for popular brands, ensuring that you can set up your food processor with confidence and ease.
Additionally, we'll delve into the art of disassembling your device for maintenance, explore the dos and don'ts to keep in mind, and address frequently asked questions.
Whether you're a seasoned chef or a kitchen novice, mastering the assembly of your food processor is the first step to culinary efficiency.
Let's embark on this journey together!
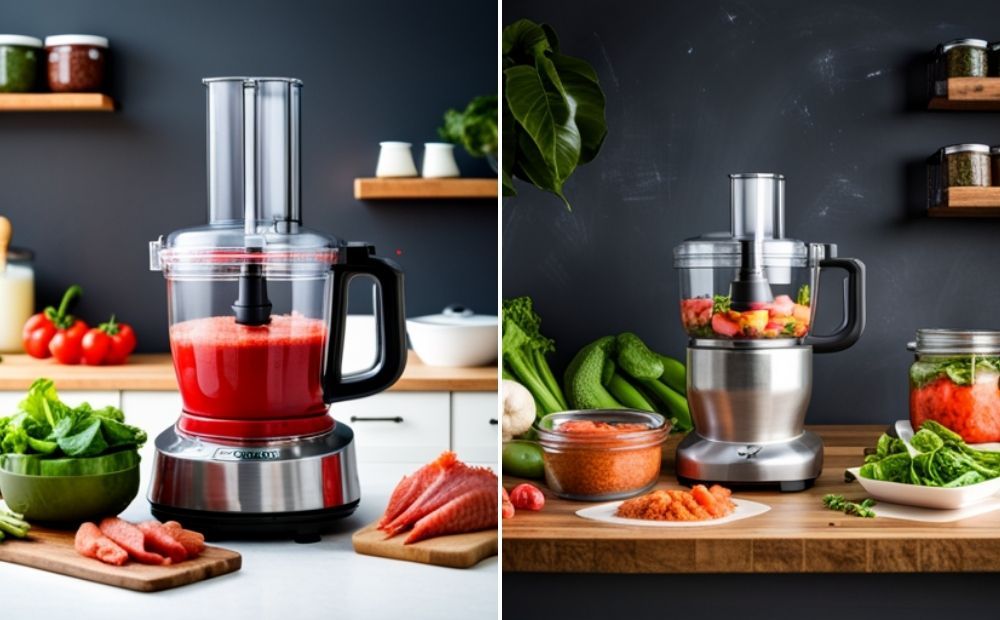
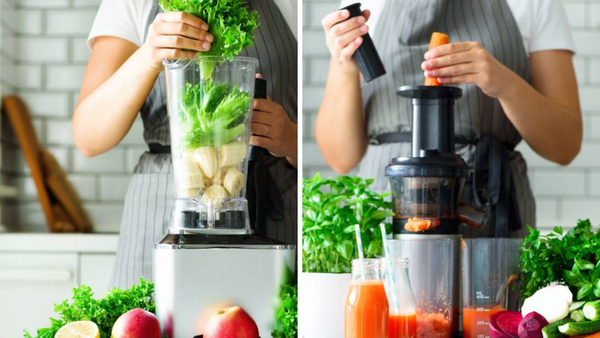
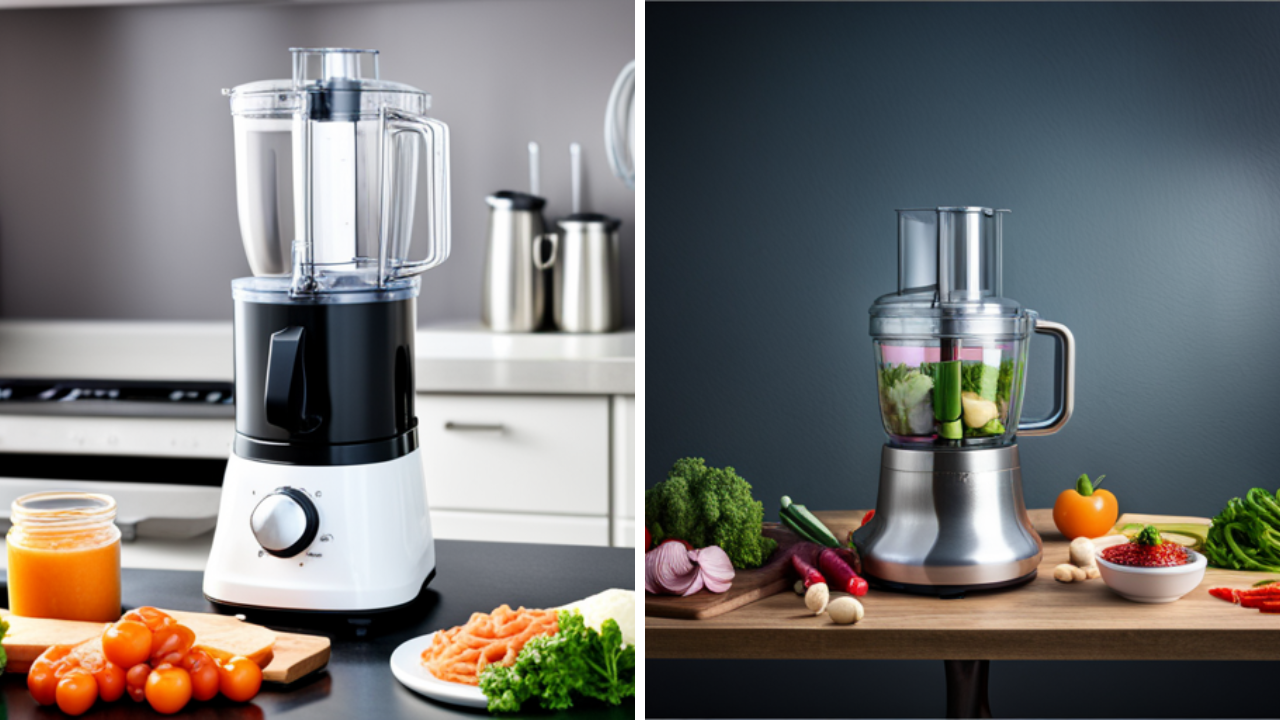
Assembled food processors
A Cuisinart Food Processor
Cuisinart Food Processors have long been synonymous with quality and durability in the culinary world.
With a reputation for precision and efficiency,
Cuisinart has carved a niche for itself among both professional chefs and home enthusiasts.
Its intuitive design combined with powerful performance makes it a must-have kitchen appliance.
Step-by-step Assembly Guide
1. Initial Setup: After unboxing, lay out all the components of the Cuisinart Food Processor on a clean countertop.
2. Positioning the Base: Place the motor base on a stable surface, ensuring the power knob is in the 'off' position.
3. Work Bowl Attachment: Align the work bowl's plastic handle with the front of the machine. Place the work bowl onto the base and turn it counterclockwise until it locks.
4. Inserting the Blade: Depending on your task, select the appropriate blade. For example, the slicing disc is used for thin or thick slices and it can be very sharp. Hold the blade from the top and carefully place it over the center shaft.
5. Securing the Lid: Position the lid over the work bowl, ensuring the feed tube aligns correctly. Lock the lid into place by turning it counterclockwise.
6. Operational Ready: Once assembled, plug in the food processor, and you're set to begin your culinary adventures.
Always prioritize safety. Ensure the device remains unplugged during assembly and exercise caution when handling sharp blades.
A Ninja Food Processor
Ninja Food Processors are renowned for their cutting-edge technology and sleek design.
A staple in many modern kitchens, these processors are designed for versatility, allowing users to chop, blend, and puree with unparalleled ease.
The brand's emphasis on user-friendly features ensures that even those new to the world of food processing can quickly become pros.
Step-by-step Assembly Guide
1. Unpacking: Begin by removing all parts of the Ninja Food Processor from the box and placing them on a clean surface.
2. Base Positioning: Set the motor base on a flat, stable surface, ensuring it's unplugged.
3. Bowl Placement: Align the bowl with the base, ensuring the handle is positioned correctly. Push down until it clicks into place.
4. Blade Insertion: Choose the blade you wish to use. Holding the blade by its top, carefully place it onto the spindle in the center of the bowl.
5. Lid Locking: Align the lid's tabs with the bowl's handle and the opposite side. Press down and turn the lid clockwise until it locks.
6. Ready to Use: With everything securely assembled, plug in the processor, and it's ready for use.
Safety is paramount. Always ensure the processor is unplugged during assembly and handle blades with caution.
KitchenAid Food Processor
The KitchenAid Food Processor stands as a testament to the brand's commitment to quality and innovation in the kitchen.
Known for its robust design and versatile functionalities, this food processor is a favorite among both professional chefs and home cooks.
Whether you're looking to chop, slice, or puree, the KitchenAid Food Processor promises efficiency and precision.
Step-by-step Assembly Guide
1. Unbox and Layout: Begin by unboxing your KitchenAid Food Processor and laying out all the components on a clean countertop.
2. Base Setup: Place the base on a flat surface, ensuring the power is turned off.
3. Bowl Attachment: Take the bowl and align it with the guiding notches on the base. Twist clockwise until it locks into place.
4. Blade Selection: Depending on your task, select the appropriate blade or disc. For general chopping, use the multi-purpose blade.
5. Blade Installation: Carefully hold the blade by its center hub and lower it onto the shaft until it is properly aligned and sits comfortably.
6. Lid Locking: Place the lid on the bowl, ensuring the feed tube aligns with the chute. Twist the lid clockwise to lock.
7. Power On: Once everything is securely in place, you can turn on the power and select your desired setting.
Remember, always ensure the device is unplugged during assembly and handle blades with care to ensure safety.
How to assemble your KitchenAid Food Processor | KitchenAid
A Black and Decker Food Processor
The Black and Decker Food Processor is a versatile kitchen appliance designed to simplify your cooking tasks.
Renowned for its durability and efficiency, this food processor is a must-have for those who love to cook but want to reduce the time spent on prep work.
With its powerful motor and sharp blades, it can chop, slice, dice, and even knead dough, making it a multifunctional tool in any kitchen.
Step-by-step Assembly Guide:
1. Unbox and Lay Out All Parts: Begin by carefully unboxing the food processor and laying out all the components on a clean countertop.
2. Base Setup: Place the base on a flat surface, ensuring it's stable. This is where the motor is housed.
3. Fit the Bowl: Align the food processor bowl with the base, ensuring the handle is facing front. Twist clockwise until it locks into place.
4. Insert the Blade: Depending on your task, choose the appropriate blade or disc. For chopping, use the multi-purpose blade. Carefully place it over the spindle in the center of the bowl.
5. Secure the Lid: Place the lid on top of the bowl, aligning the feed tube with the handle of the bowl. Twist the lid clockwise until it locks.
6. Plug and Play: Once assembled, plug in the food processor, and it's ready for use. Always ensure the lid is securely locked before operating.
With these simple steps, your Black and Decker Food Processor is assembled and ready to assist you in creating culinary masterpieces!
Black + Decker 3-in-1 Easy Assembly 8-cup Food Processor Unboxing and Assembly! - Smartin
How To Disassemble A Food Processor
Food processors, with their multifaceted functionalities, have become an indispensable tool in modern kitchens.
However, to ensure their longevity and optimal performance, regular maintenance and cleaning are essential.
This necessitates the need for proper disassembly, which not only ensures thorough cleaning but also safeguards the appliance's intricate components.
Importance of Proper Disassembly for Maintenance and Cleaning
- Preservation of Functionality: Regular disassembly and cleaning prevent food residues from settling in the processor, which can hinder its performance over time.
- Hygiene and Health: Leftover food particles can become breeding grounds for bacteria, leading to potential health risks. Proper disassembly ensures every nook and cranny is accessible for cleaning.
- Extending Appliance Lifespan: Proper maintenance, which begins with correct disassembly, can significantly extend the life of your food processor, ensuring it remains a reliable kitchen companion for years.
Step-by-step Guide to Safely Disassemble Your Food Processor
1. Safety First: Before starting, ensure the food processor is turned off and unplugged from the electrical outlet.
2. Remove the Lid: Hold the lid's handle and turn it counterclockwise (or as per your model's design) to unlock. Lift it off the bowl.
3. Extract the Blade or Disc: Carefully hold the blade or disc by its center hub. Lift it vertically to remove it from the spindle. Always handle blades with caution as they are sharp.
4. Detach the Bowl: Hold the bowl's handle and turn it counterclockwise to unlock it from the base. Lift the bowl away from the motor base.
5. Additional Attachments: If your food processor has additional attachments like a dough blade, spatula, or other accessories, remove them from the bowl.
6. Cleaning the Base: While the motor base should not be submerged in water, you can wipe it down with a damp cloth to remove any residue or spills.
7. Storing Components: Once all parts are cleaned and dried, store them separately to ensure they remain dry and free from potential mold or bacterial growth. This also makes it easier to assemble the processor the next time you use it.
Always refer to the manufacturer's instructions for detailed cleaning guidelines, as various food processor models might have distinct maintenance needs.
Disassembling your food processor might seem like a tedious task, but it's a crucial step in ensuring the appliance's longevity and your food's safety.
With regular practice, the process becomes swift and second nature.
Some Dos and Don'ts
Navigating the world of food processors can be a breeze, but it's essential to be aware of the dos and don'ts to ensure safety, efficiency, and the longevity of your appliance.
Here's a concise guide to help you make the most of your food processor while avoiding common pitfalls.
The Importance of Reading the Manual
- Do: Always start by thoroughly reading the user manual that comes with your food processor. It provides specific instructions tailored to your model, ensuring optimal performance and safety.
- Don't: Assume that most food processors operate the same way. Different brands and models can have unique features and operational nuances.
Safety Precautions to Take During Assembly and Disassembly
- Do: Ensure the appliance is unplugged before starting any assembly or disassembly process. This simple step can prevent accidental startups and potential injuries.
- Do: Handle blades and discs with care. They are sharp and can cause cuts if mishandled.
- Don't: Leave the food processor components, especially blades, within the reach of children or pets.
- Don't: Use damaged or warped components. If you notice any cracks or deformities, replace the part before using the processor.
Common Mistakes to Avoid
- Do: Regularly check the processor's components for wear and tear, especially seals and gaskets, to prevent leaks and ensure efficient operation.
- Don't: Overfill the processor bowl. Always adhere to the max fill line to prevent spills and ensure even processing.
- Don't: Use the food processor for tasks it's not designed for, such as grinding extremely hard substances or processing hot liquids.
While food processors are designed for ease and efficiency, it's crucial to approach their use with an informed mindset.
By following the dos and steering clear of the don'ts, you can ensure a safe and enjoyable culinary experience.
FAQs
Food processors have revolutionized the way we approach cooking, offering a versatile tool that can handle a variety of tasks.
However, with such a multifunctional appliance comes a series of questions, especially when it comes to assembly.
Here, we address some of the most frequently asked questions:
Why is Reading the Manual Important?
The manual provides specific instructions tailored to your food processor model. It ensures you understand the unique features, safety precautions, and optimal ways to use and maintain the appliance. Not all food processors are the same, and the manual offers guidance specific to your model.
How Do I Safely Assemble My Food Processor?
Safety begins with ensuring the appliance is unplugged. Start by attaching the base, followed by the bowl, and then the blade. Always handle blades with care as they are sharp. Ensure all components click into place securely before plugging in and using the processor.
What Common Mistakes Should I Avoid When Assembling?
Overfilling the processor bowl, not ensuring the lid is securely locked, and using damaged components are common mistakes. Always adhere to the max fill line, ensure all parts click securely into place, and regularly inspect your processor's components for any signs of wear or damage.
Is There a Specific Method to Insert the Blade?
Yes, hold the blade by its hub and carefully place it over the central spindle inside the bowl. Ensure the blade sits securely and is not wobbly. The cutting edge should face the appropriate direction based on your model's design.
How Can I Ensure Longevity of My Food Processor?
Regular maintenance, which includes proper assembly, disassembly, and cleaning, ensures the longevity of your food processor. Avoid processing extremely hard substances, and always ensure the processor is clean and dry before storing.
Understanding the intricacies of assembling a food processor is paramount to ensuring its optimal performance and longevity. With this guide you should feel comfortable with putting together a standard food processor.
If you are in the market for a food processor, we cover top quality picks in our articles for the best food processor for dough, the best mini food processor and the best manual food processor.
Check them out!

While the above guide provides a general overview, always remember that your specific model's manual is the best resource for detailed guidance.
By being informed, you can make the most of this versatile kitchen appliance, ensuring it serves you efficiently for years to come.