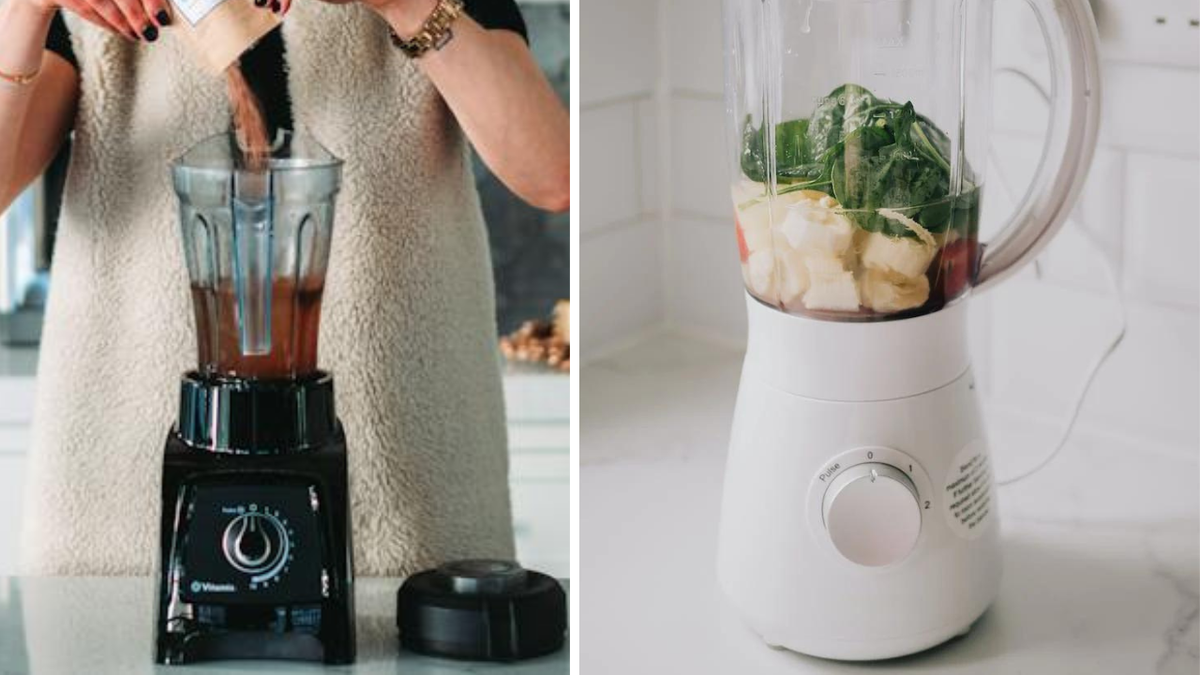


Blenders are a staple in many kitchens, used for everything from smoothies and soups to sauces and dips.
However, like any appliance, blenders can experience issues that require troubleshooting and repair.
Knowing how to fix a blender can save you time and money, and ensure that your blender lasts for years to come.
Understanding Your Blender is the first step to fixing it. Different types of blenders have different parts and functions, so it's important to know what you're working with.
Common Blender Problems include leaks, motor malfunctions, and overheating. Fortunately, many of these issues can be resolved with basic troubleshooting and repair techniques.
It's also important to take Safety Precautions when working with blenders, as they can be dangerous if not handled properly.

Key Takeaways
- Understanding your blender is crucial for troubleshooting and repair.
- Common blender problems include leaks, motor malfunctions, and overheating.
- Taking safety precautions is essential when working with blenders.
Understanding Your Blender
Before attempting to fix a blender, it's important to understand how it works. A blender typically consists of a motor, a blade assembly, and a container.
The motor powers the blade assembly, which blends the ingredients in the container.
Blenders come in different sizes and with different features, but most blenders have a similar basic design.
Some blenders have multiple speed settings, while others have a pulse function. Some blenders come with different types of blades for different tasks, such as crushing ice or blending smoothies.
When using a blender, it's important to not overload the container with ingredients.
Overloading can cause the motor to overheat and potentially burn out. It's also important to ensure that the lid is securely in place before blending.
If a blender is not working properly, there are a few things that could be causing the issue.
The motor may have burned out, the blade assembly may be damaged or dull, or the container may be cracked or leaking.
By understanding the basic components of a blender, it's easier to diagnose and fix any issues that may arise.
Common Blender Problems
Blenders are an essential kitchen appliance, but they can sometimes malfunction. Here are some common blender problems and their solutions:
- Blender not turning on: If your blender is not turning on, check to make sure it's plugged in and the outlet is working. If it still doesn't turn on, check the fuse or circuit breaker. If the problem persists, it may be a motor issue and you should contact a professional.
- Blender leaking: If your blender is leaking, check the gasket or seal on the blade assembly. If it's damaged or worn, replace it. Also, make sure the blender jar is properly attached to the base. If the problem persists, it may be a crack in the jar and you should replace it.
- Blender not blending properly: If your blender is not blending properly, make sure the blade assembly is properly attached and not dull or damaged. Also, make sure the ingredients are properly placed in the jar and not overfilled. If the problem persists, it may be a motor issue and you should contact a professional.
- Blender making strange noises: If your blender is making strange noises, it may be due to a loose or damaged blade assembly. Turn off the blender and check the blade assembly. If it's loose or damaged, tighten or replace it. If the problem persists, it may be a motor issue and you should contact a professional.
By knowing these common blender problems and their solutions, you can troubleshoot and fix your blender easily.
However, if the problem persists, it's always best to seek professional help.
Safety Precautions
When fixing a blender, it is important to take certain safety precautions to avoid any accidents or injuries. Here are some safety tips to keep in mind:
- Always unplug the blender before attempting to fix it.
- Wear protective gear, such as gloves and safety glasses, to avoid any injuries from sharp blades or electrical components.
- Keep children and pets away from the area where you are fixing the blender.
- Do not use the blender if it has any frayed cords, cracks in the casing, or other visible damage.
- Do not touch any electrical components or wiring if you are not trained to do so.
- Follow the manufacturer's instructions carefully when disassembling and reassembling the blender.
By following these safety precautions, you can ensure that you fix your blender safely and avoid any potential accidents or injuries.
Basic Troubleshooting
When a blender stops working or is not functioning properly, there are a few basic troubleshooting steps to take before calling a repair service.
First, check the power source. Ensure that the blender is plugged in and the outlet is functioning properly.
If the outlet is not working, try plugging the blender into a different outlet. If the blender still does not turn on, check the fuse or circuit breaker.
Next, check the blades and jar. Make sure that the blades are properly attached and that the jar is securely in place.
If the blades are dull or damaged, they may need to be replaced. If the jar is cracked or broken, it will need to be replaced as well.
If the blender is still not working, check the motor. If the motor is overheated, allow it to cool down before attempting to use the blender again.
If the motor is making unusual noises or smells, it may need to be repaired or replaced.
Finally, if none of these steps resolve the issue, it may be time to contact a professional repair service.
Proper Cleaning And Maintaining Of Your Blender
Fixing a Leaky Blender
Blenders are a great kitchen appliance for making smoothies, soups, and sauces.
However, if your blender is leaking, it can be frustrating and messy. Here are some steps to help you fix a leaky blender.
Identifying the Source of the Leak
The first step in fixing a leaky blender is to identify where the leak is coming from.
There are a few common places where leaks can occur:
- Blade assembly: If the blade assembly is not tightened properly or if the gasket is worn, it can cause leaks.
- Jar: If the jar is cracked or if the seal is worn, it can cause leaks.
- Base: If the base is cracked or if the seal is worn, it can cause leaks.
To identify the source of the leak, turn off the blender and unplug it. Then, remove the jar from the base and inspect it for cracks or wear.
Next, inspect the blade assembly and base for cracks or wear. If you find any cracks or wear, you will need to replace the damaged part.
Sealing the Leak
If the leak is coming from the blade assembly, you can try tightening it to see if that stops the leak. If the leak persists, you will need to replace the gasket.
To replace the gasket, follow these steps:
- Turn off the blender and unplug it.
- Remove the blade assembly from the jar.
- Remove the old gasket from the blade assembly.
- Clean the blade assembly and the jar.
- Place the new gasket onto the blade assembly.
- Reattach the blade assembly to the jar.
If the leak is coming from the jar or the base, you will need to replace the seal.
To replace the seal, follow these steps:
- Turn off the blender and unplug it.
- Remove the jar from the base.
- Remove the old seal from the jar or the base.
- Clean the jar or the base.
- Place the new seal onto the jar or the base.
- Reattach the jar to the base.
Fixing a leaky blender is not difficult if you follow these steps.
By identifying the source of the leak and replacing the damaged part, you can get your blender back to working properly.
Why Isn't My Blender Working Well? - Cuisinart
Repairing a Non-Functional Motor
If the blender motor is not working, it may be necessary to repair or replace it. Here are a few steps to follow when repairing a non-functional motor.
Checking Electrical Connections
The first thing to check when the motor is not working is the electrical connections.
Make sure that the blender is unplugged before proceeding. Check the power cord and ensure that it is securely connected to the blender. Inspect the plug for any damage or fraying.
If the plug is damaged, it may need to be replaced.
Next, remove the base of the blender and check the wiring connections. Look for any loose or corroded connections.
If you find any, use a wire brush to clean the connections and tighten them. Be sure to reassemble the blender properly before testing it.
Replacing the Motor
If the electrical connections are not the issue, the motor may need to be replaced. Before replacing the motor, it is important to identify the correct replacement part.
Check the blender's manual or contact the manufacturer for assistance.
To replace the motor, first, unplug the blender. Then, remove the base and disconnect the motor from the wiring connections.
Depending on the blender model, you may need to unscrew the motor or remove other parts to access it.
Once the motor is removed, install the replacement motor in its place. Reconnect the wiring connections and reassemble the blender. Test the blender to ensure that the new motor is functioning properly.
By following these steps, it is possible to repair a non-functional blender motor and get your blender back in working order.
Dealing with Overheating
Blenders are powerful machines that can easily overheat if not used properly. Overheating can cause damage to the motor and other parts of the blender.
In this section, we will discuss how to deal with overheating.
Allowing Proper Ventilation
One of the main reasons for blender overheating is a lack of proper ventilation. When using a blender, it is important to make sure that the vents are not blocked.
Make sure to keep the blender away from walls or other objects that can block the vents.
Another way to ensure proper ventilation is to use the blender in short bursts. Using the blender for extended periods of time can cause it to overheat.
It is recommended to use the blender for no more than one minute at a time and then let it rest for a few minutes before using it again.
Reducing Overload
Another cause of blender overheating is overloading. Overloading can cause the motor to work harder than it should, which can lead to overheating.
To avoid overloading the blender, it is important to follow the manufacturer's instructions regarding the maximum amount of ingredients that can be used.
If the blender is overloaded, it is important to stop it immediately and remove some of the ingredients.
It is also important to make sure that the blades are not blocked by ingredients, as this can cause the motor to work harder than it should.
In summary, to prevent blender overheating, it is important to allow proper ventilation and avoid overloading.
By following these tips, you can ensure that your blender lasts longer and works more efficiently.

Understand How A Blender Works To Properly Diagnose The Issues
Replacing Blender Parts
Blenders are durable appliances, but over time, parts can wear out or break. When this happens, it's important to replace the faulty part as soon as possible to avoid further damage to the blender.
Here are some steps to follow when replacing blender parts.
Finding the Right Parts
Before replacing any blender parts, it's important to identify the specific part that needs to be replaced.
The easiest way to do this is by checking the blender's manual or contacting the manufacturer for assistance.
If the manual is not available, look for identifying marks on the part itself, such as a part number or manufacturer's logo.
Once the specific part has been identified, it's important to find the right replacement part.
This can be done by contacting the manufacturer or by checking online retailers that specialize in blender parts.
Make sure to double-check the compatibility of the replacement part with the blender model.
Installing New Parts
Once the replacement part has been obtained, it's time to install it. The following steps can be helpful when installing new blender parts:
- Unplug the blender from the power source.
- Remove any attachments or accessories from the blender.
- Locate the faulty part and remove it according to the manufacturer's instructions.
- Install the new part according to the manufacturer's instructions.
- Reattach any attachments or accessories that were removed.
- Plug the blender back into the power source and test it to ensure that the new part is working properly.
It's important to note that some blender parts, such as blades and gaskets, require special tools for installation.
Make sure to have the necessary tools on hand before attempting to replace these parts.
In summary, replacing blender parts can be a simple process with the right tools and knowledge.
By following the steps outlined above, it's possible to keep a blender running smoothly for years to come.
Maintaining Your Blender
Blenders are an essential appliance in most kitchens, and proper maintenance is crucial to ensure that they last for a long time.
Here are some tips to help keep your blender in good working condition.
Regular Cleaning
Keeping your blender clean is essential to prevent the buildup of dirt, grime, and bacteria. Here are some steps to follow for regular cleaning:
- After each use, rinse the blender jar and blades under running water.
- Fill the jar halfway with warm water and a few drops of dish soap. Run the blender on low speed for 30 seconds, then rinse thoroughly with water.
- For tough stains or odors, you can add a tablespoon of baking soda to the warm water and blend for a few seconds before washing.
Periodic Inspection
Periodic inspection can help identify any issues with your blender before they become major problems. Here are some things to look out for:
- Check the blades for any signs of damage or wear. If the blades are dull or chipped, they can be replaced.
- Inspect the gasket seal between the jar and the base. If it is cracked or worn, it can cause leaks or damage to the motor.
- Check the power cord for any signs of damage or fraying. If the cord is damaged, it should be replaced immediately.
By following these simple tips, you can keep your blender in good working condition for years to come.
Frequently Asked Questions
How can I troubleshoot a blender that has stopped working?
If a blender has stopped working, there are a few things that can be checked. First, make sure the blender is properly plugged in and the outlet is working. Next, check if the blender's blades are stuck or if the blender has overheated. If the issue persists, it may be a problem with the motor or wiring, and it may require professional repair.
What are some common causes of a blender overheating and how can I fix it?
Blender overheating can be caused by a few things, such as blending for too long, blending too much at once, or a faulty motor. To fix it, try blending in smaller batches or shorter intervals. Make sure the blender's vents are not blocked and the blades are not dull or damaged. If the issue continues, it may require professional repair.
How do I replace the drive pin in an Oster blender?
To replace the drive pin in an Oster blender, first, unplug the blender and remove the blades. Next, remove the old drive pin and replace it with the new one. Finally, reattach the blades and plug in the blender.
Where can I find blender repair parts?
Blender repair parts can be found at many appliance stores or online retailers. It is important to make sure the parts are compatible with the specific blender model.
Is it possible to repair a blender jar or should I replace it?
It may be possible to repair a blender jar, depending on the extent of the damage. Small cracks or chips can be repaired with epoxy or silicone, but if the damage is too severe, it may be necessary to replace the jar.
What are some reliable blender repair services near me?
To find reliable blender repair services, check with local appliance repair shops or search online for reviews and recommendations. It is important to choose a reputable and experienced repair service to ensure quality work and avoid further damage to the blender.
If your blender has worn out and you need a new quality blender, check out the blog post below for our top picks of the Best Blender Food Processor Combo.
And if you need a quiet blender, check out this article on the Best Quiet Blender for Smoothie Lovers.