


A mini fridge is a convenient appliance for students and anyone looking to save trips to the grocery store.
However, it's important to take care of your mini fridge to ensure its longevity and efficient performance.
One crucial maintenance task is defrosting the mini fridge.
In this comprehensive guide, we will explore the step-by-step process of defrosting a mini fridge, the time it takes to defrost, and some handy tips to make the process faster and easier.
Short Summary
- Defrosting a mini fridge involves everything from emptying the fridge to cleaning, drying and plugging it back in.
- Alternative defrosting methods if you find yourself in a situation where you can't unplug your mini fridge.
- Repurposing your mini fridge after college and what to do with it.
Understanding the Defrosting Process

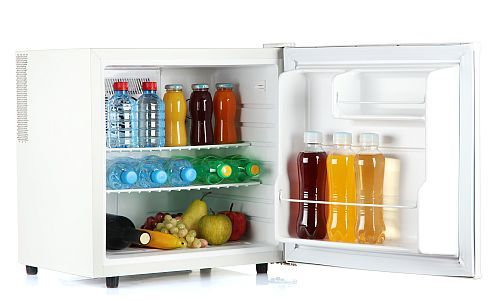
Prepare to Defrost a Mini Fridge
Before we dive into the steps of defrosting a mini fridge, let's understand why defrosting is necessary.
Over time, ice can accumulate in the freezer compartment of the mini fridge, reducing its cooling efficiency and taking up valuable storage space.
Defrosting helps remove this excess ice, allowing the refrigerator to operate optimally.
How Long Does It Take to Defrost a Mini Fridge?
The duration of the defrosting process can vary depending on several factors. Generally, it takes approximately 24-48 hours to defrost a mini fridge properly.
However, it's important to plan ahead and allow sufficient time for the process. Defrosting should be done before winter break or in preparation for moving out for the summer.
By following the steps outlined in this guide, you can ensure a smooth and efficient defrosting process.
Preparing for Defrosting
Before you begin the defrosting process, there are a few crucial steps to take.
First, unplug the mini fridge from the power source. This ensures safety and prevents any electrical mishaps during the defrosting process.
Additionally, it's essential to remove all items from the mini fridge, especially perishable items that may spoil during the defrosting period. If necessary, find alternative storage options, such as a cooler or a friend's fridge, to keep your food fresh.
Defrosting Process
With the necessary preparations complete, you can now proceed with the how to defrost a mini fridge. Follow these steps to defrost your mini fridge effectively:
Empty the Fridge
Remove all items from the mini fridge, including perishable items that may go bad. Check the freezer compartment as well, ensuring that no ice cream or frozen goods are left behind. It's crucial to start with a completely empty fridge before defrosting.
Prop Open the Door
To facilitate the defrosting process, prop open the door of the mini fridge. This allows room temperature air to circulate inside, helping to melt the ice more quickly.
Additionally, placing a towel in front of the fridge with the door open can absorb any water that drains during the defrosting process.
Speeding up the Defrosting Process
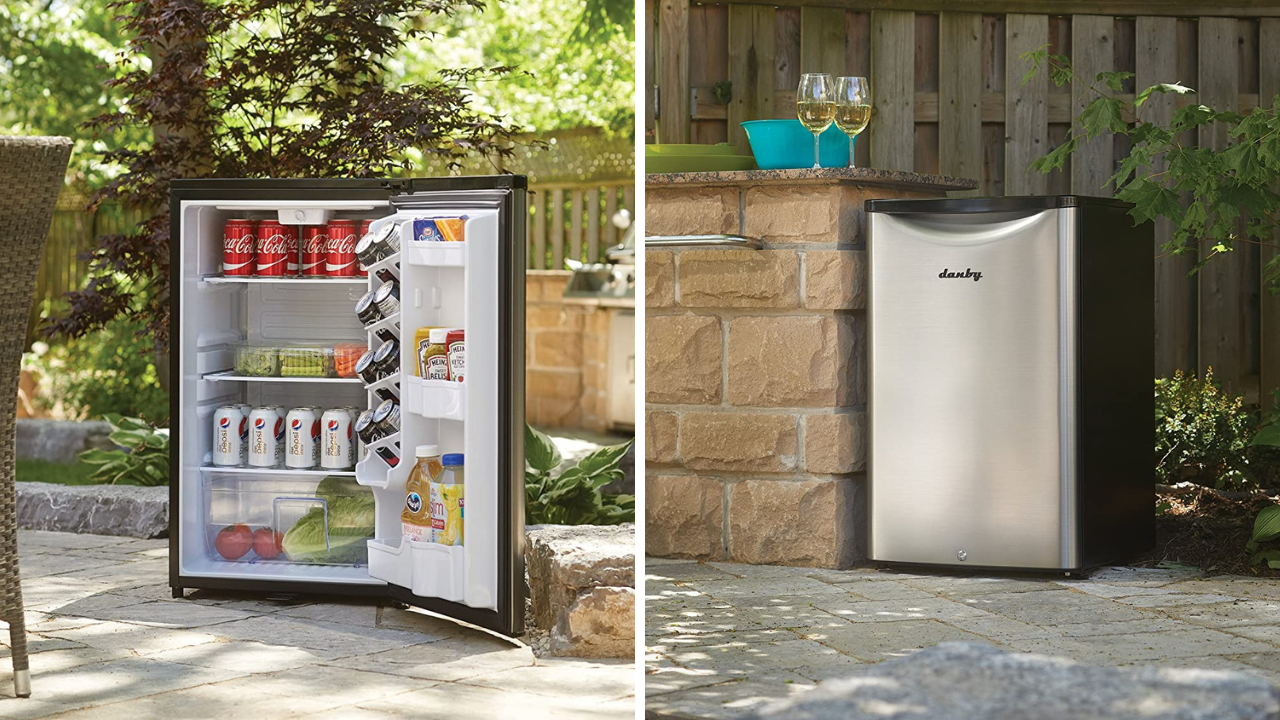
Mini Fridge
If you encounter difficulties in defrosting or notice stubborn chunks of ice, here are some tips to expedite the process:
- Place a warm bowl of water inside the fridge. The steam generated will raise the temperature, accelerating the melting of the ice.
- Use a warm rag to wipe away excess ice. The warmth helps to melt the ice more rapidly.
- If necessary, gently use a plastic spatula to break off stubborn ice chunks. Avoid using sharp objects that may damage the interior of the fridge.
Cleaning the Mini Fridge
While the fridge is defrosting, take the opportunity to clean the shelves and compartments. Remove them and wash them with warm soapy water.
Baking soda or distilled vinegar can help remove tough build-up from food or drinks.
Wipe down the inside of the fridge to absorb any leftover moisture, leaving it clean and fresh.
Drying and Plugging In
Once the mini fridge is completely defrosted, ensure that it is dry before plugging it back in.
Moisture can lead to mold and unpleasant odors. Give it some time to dry thoroughly before reconnecting the power source. Once plugged in, wait a few hours for the fridge to chill before storing fresh items.
Tips for Defrosting Efficiency
To make the defrosting process smoother and faster, consider the following tips:
- Plan ahead and schedule the defrosting process well in advance.
- Keep the mini fridge upright at all times to avoid damage to the cooling system.
- Lay a towel or tray beneath the fridge to absorb melting ice and prevent water damage to your floor.
- Use warm water and gentle cleaning agents when wiping down the interior of the fridge.
- Consider placing a box of baking soda inside the fridge to absorb any lingering odors.
- Regularly clean and maintain your mini fridge to prevent excessive ice buildup and the need for frequent defrosting.
Alternative Defrosting Methods
If you find yourself in a situation where you need to defrost your mini fridge quickly without unplugging it, there are alternative methods you can try. One option is to use a hairdryer on a low heat setting to gently melt the ice.
Be cautious not to expose the appliance to water or touch the melting ice directly to avoid electrical shock.
Alternatively, you can place bowls of hot water inside the fridge and close the door to create a steamy environment that speeds up the melting process.
Extended Absence Defrosting
If you plan to be away from your mini fridge for an extended period, such as during summer break, it's crucial to defrost it completely before leaving.
Follow the steps mentioned earlier, ensuring that the fridge is clean, dry, and free from any perishable items. By defrosting the fridge before an extended absence, you prevent the growth of mold and the accumulation of unpleasant smells.
Repurposing Your Mini Fridge
Once you have successfully defrosted your mini fridge, you may wonder what to do with it after college. There are several creative ways to repurpose your mini fridge:
- Use it in your man cave or home theater to store cold beverages within easy reach.
- Repurpose it as extra food storage in your utility room, basement, or garage, especially during holidays or when hosting parties.
- Convert it into a wine cooler by adjusting the temperature settings to preserve your favorite bottles.
Summary
In conclusion, defrosting a mini fridge is a necessary maintenance task to ensure its proper functioning and longevity.
By following the step-by-step process outlined in this guide, you can effectively defrost your mini fridge and keep it in optimal condition.
Remember to plan ahead, remove all items, prop open the door, and clean the fridge thoroughly before plugging it back in.
By taking proper care of your mini fridge, you can enjoy its convenience and efficiency for years to come.
If you are looking for a mini fridge then check out our article on the Best Mini Fridge Picks.

Or if you are looking for a mini fridge for a bedroom then check our article on Bedroom Mini Fridges.

Looking for an outdoor mini fridge? Then our article on the Best Outdoor Mini Fridge may also interest you.
Additional Resources
For more information on caring for your mini fridge and related topics, check out the following resources:
- CollegeBoxes Ultimate College Move-Out Checklist
- The Daring Kitchen: How to Defrost Your Mini Fridge
- PC Richard & Son: How to Pack & Move Your Mini Fridge
Remember, proper maintenance and regular defrosting are essential for keeping your mini fridge in optimal condition and ensuring its efficiency.
How to Easily Defrost a Mini Fridge with Ice Built Up in Freezer! Instructions & Tips (Igloo FR320) - DIYNate


