


Cleaning a meat grinder is not just a matter of hygiene, but also a crucial step to ensure the longevity and functionality of your kitchen tool.
A well-maintained meat grinder can serve you for years, providing consistently ground meat that's free from contaminants.
In this article we will give you a step-by-step guide on how to clean a meat grinder as well the importance of maintenance and care, and tips on avoiding common mistakes.
Short Summary
- Regular Cleaning: It's vital to clean a meat grinder immediately after use to prevent bacterial growth, maintain the quality of the meat, and ensure the longevity of the grinder.
- Maintenance and Care: Beyond cleaning, the grinder requires periodic blade sharpening, lubrication of moving parts, and checks for wear and tear to ensure optimal performance.
- Avoid Common Mistakes: Avoid pitfalls such as delaying cleaning, using harsh chemicals, and not drying parts properly to prevent damage and ensure the grinder's efficiency.
Importance of Cleaning a Meat Grinder
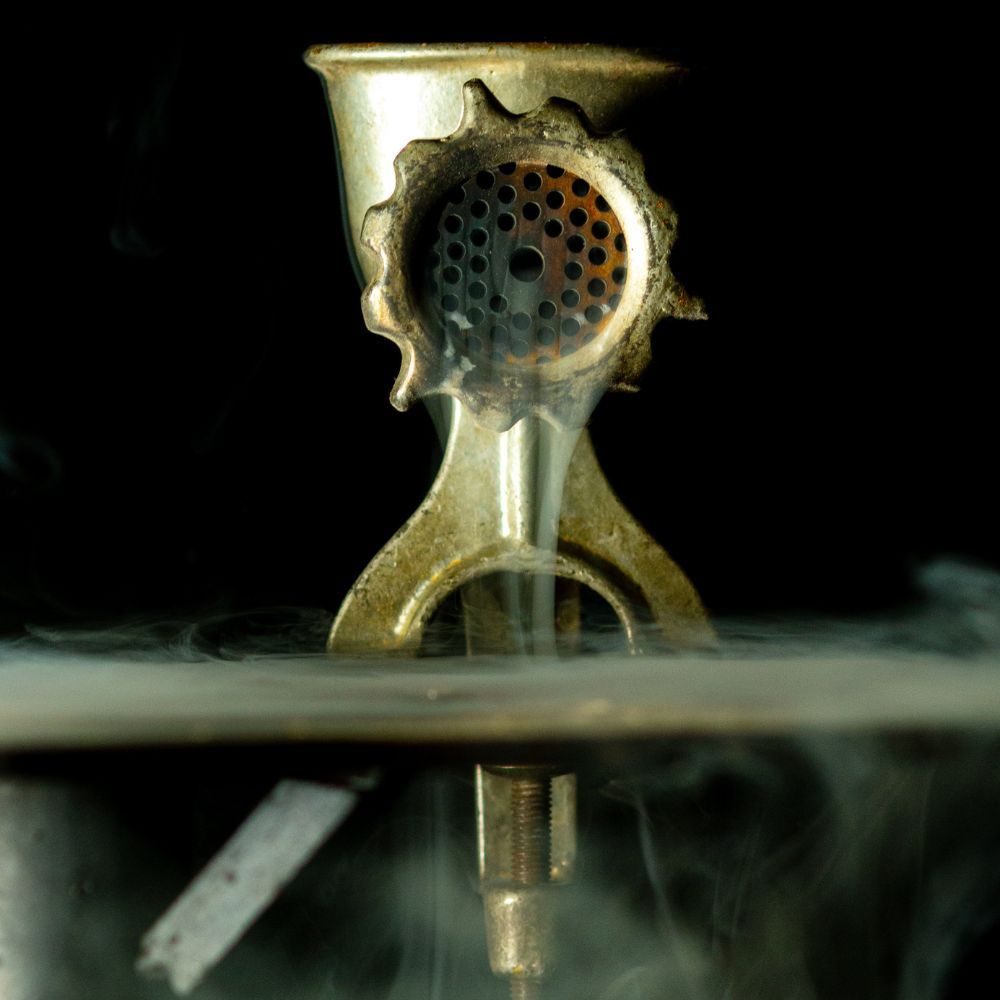
Meat Grinder
- Just like any kitchen appliance, meat grinders are susceptible to residue build-up. Over time, tiny bits of meat can get trapped in various parts of the grinder.
If not cleaned, these residues can become a breeding ground for bacteria.
- Regular cleaning ensures that the taste and quality of the meat remain uncompromised. No one wants their freshly ground meat to have remnants or flavors from previous grinds.
Risks of Not Cleaning It Properly
- The primary risk of not cleaning a meat grinder properly is the growth of harmful bacteria, which can lead to foodborne illnesses. As wikiHow points out in their detailed cleaning guide with pictures, meat leaves behind oil and grease, which, if not cleaned immediately, can become rancid and contaminate future grinds.
- Another risk is the potential damage to the grinder itself. Meat residues can corrode the metal parts, dull the blades, and even cause the grinder to malfunction over time.
In the following sections, we'll delve deeper into the step-by-step process of cleaning a meat grinder, ensuring it remains in top-notch condition for all your culinary adventures.
Why Clean a Meat Grinder?
Meat grinders are indispensable tools for both home cooks and professional chefs.
However, their efficiency and safety are directly tied to how well they are maintained. Here's why cleaning a meat grinder is non-negotiable:
Prevention of Bacterial Growth:
- Raw meat is a known carrier of various bacteria, including E. coli and Salmonella. If residues are left in the grinder, these bacteria can multiply rapidly, posing a health risk.
- Regular cleaning eliminates these residues, ensuring that your ground meat is safe for consumption.
Ensuring the Longevity of the Grinder:
- Meat residue, especially fats, can be corrosive. Over time, they can damage the grinder's metal parts.
- Regular cleaning and maintenance prevent wear and tear, ensuring that your grinder serves you efficiently for years.
Maintaining the Quality and Taste of the Meat:
- Old residues can contaminate fresh meat, affecting its taste and quality.
- A clean grinder ensures that the flavor of the meat remains pure and uncontaminated.
When to Clean a Meat Grinder?
Knowing why to clean a meat grinder is essential, but understanding when to clean it is equally crucial:
Clean Meat Grinder Immediately After Each Use:
- This is the most basic rule. Every time you use the grinder, clean it to remove meat residues and prevent bacterial growth.
When Switching Between Different Types of Meats:
- Different meats have distinct flavors. To prevent cross-contamination of flavors, clean the grinder when switching from one type of meat to another
Periodic Deep Cleaning:
- Apart from regular cleaning, it's advisable to periodically disassemble the grinder for a deep clean. This ensures that even the hard-to-reach areas are free from residues and potential bacterial growth.
Step-by-Step Guide to Cleaning a Meat Grinder
Taking apart a meat grinder
Cleaning a meat grinder might seem like a daunting task, but with the right steps, it becomes a straightforward process.
Here's a detailed guide to ensure your grinder remains in top condition:
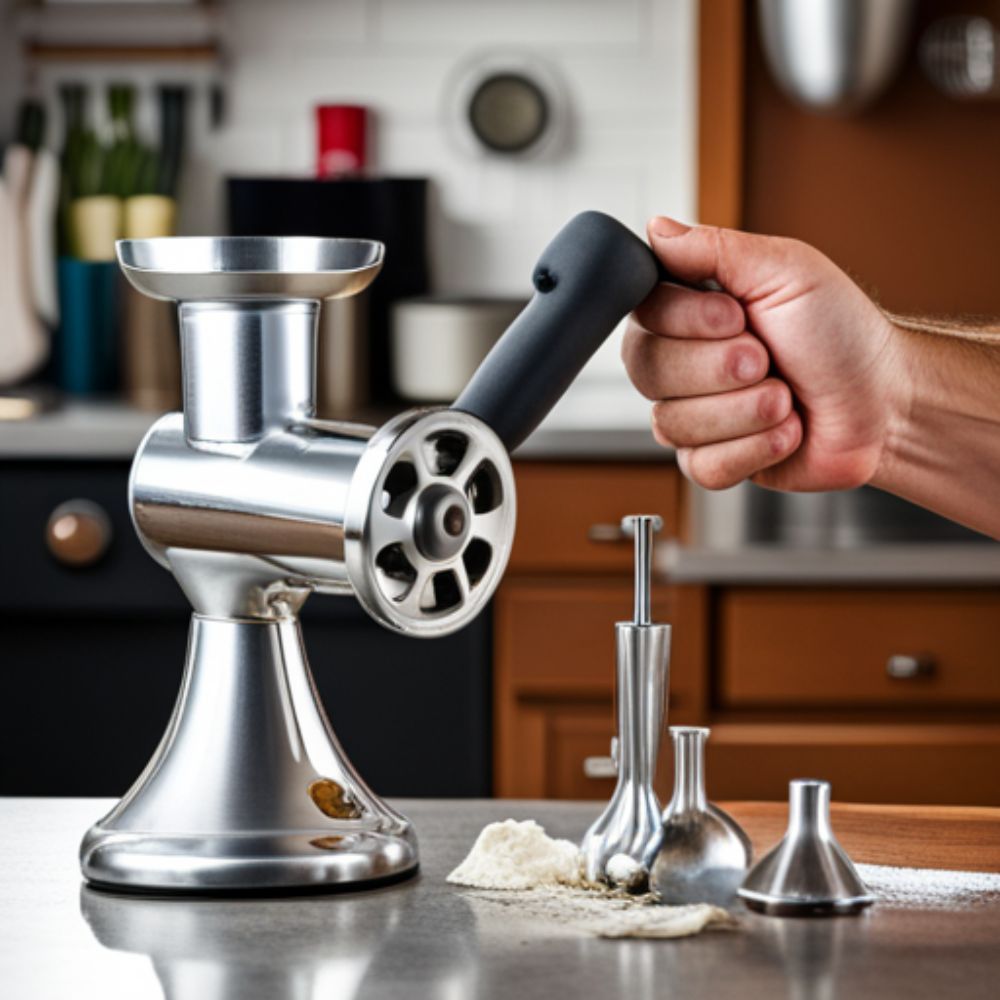
Disassembling the Grinder
Before diving into the cleaning process, it's crucial to understand how to safely take apart your meat grinder:
Importance of Reading the User Manual:
- Every meat grinder, whether manual or electric, comes with its unique design and parts. The user manual provides specific instructions tailored to your grinder model.
- It's essential to refer to the manual to understand the correct way to disassemble the grinder without causing any damage. This ensures that you don't miss out on any components or mistakenly break any parts.
- The manual will also indicate which parts are dishwasher safe and which ones require hand washing.
General Steps for Disassembling:
1. Unplug the Grinder: If you're using an electric meat grinder, always unplug it from the power source to ensure safety.
2. Remove the Grinder's Main Components: Start by detaching the feed tube, followed by the grinding plate, cutting blade, and screw.
3. Take Out the Internal Parts: Some grinders come with additional internal components. Refer to the manual to ensure you've removed all parts that need cleaning.
4. Keep the Parts Organized: As you disassemble, lay out the parts on a clean towel or tray. This will make reassembly easier and ensure no parts are lost.
By carefully disassembling the grinder, you ensure that each component is adequately cleaned, preventing any bacterial growth and ensuring the longevity of the device.
Cleaning the Parts
Once you've successfully disassembled the meat grinder, the next step is to thoroughly clean each part. Proper cleaning ensures that all meat residues are removed, preventing bacterial growth and ensuring the grinder's efficiency.
Using Soap and Water:
- The simplest and most effective way to clean the grinder parts is with warm soapy water. Fill a basin or sink with warm water and add a few drops of mild dish soap.
- Immerse the parts in the soapy water and use a soft brush or sponge to scrub away any meat residues. For parts with crevices or intricate designs, consider using a toothbrush to reach those areas.
Special Care for Blades and Plates:
- The blades and plates of the grinder are sharp and require special attention. Always handle them with care to avoid injury.
- When cleaning, ensure that all meat residues are removed from the blades and plates as they can dull the edges over time.
- After washing, immediately dry these parts with a towel to prevent rusting.
Tips for Cleaning Small Parts:
- Small parts, like screws or rings, can be tricky to clean due to their size. Placing them in a mesh strainer can help keep them together while you rinse and scrub them.
- For parts with tiny holes or intricate designs, using a toothpick or a small brush can be effective in removing trapped residues.
By ensuring each part of the meat grinder is meticulously cleaned, you not only maintain its efficiency but also prolong its lifespan.
Drying and Reassembling Meat Grinders
After cleaning, it's essential to ensure that each part of the meat grinder is thoroughly dried:
Importance of Thoroughly Drying Each Part:
- Water residues can lead to rust, especially on metal parts. Rust not only damages the grinder but can also contaminate the meat.
- Ensure each part is air-dried or wiped down with a clean towel to remove any moisture.
Steps to Reassemble the Grinder:
1. Start by attaching the internal components, if any.
2. Fix the screw, followed by the cutting blade, grinding plate, and finally, the feed tube.
3. Ensure each part is securely in place to prevent any malfunctions during use.
Storage Tips
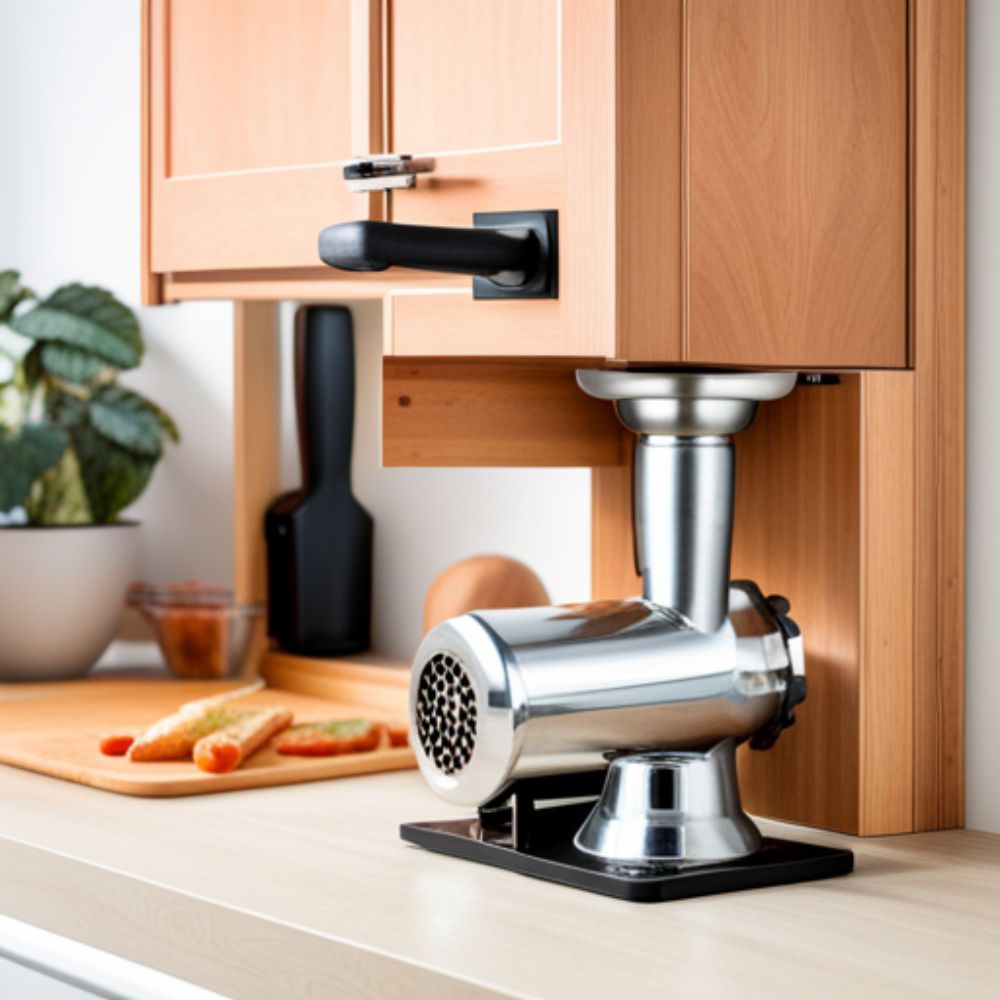
Storing a meat grinder in a cool and dry place
Proper storage of the meat grinder ensures its longevity and functionality:
Best Practices for Storing the Grinder:
- Store in a cool, dry place away from direct sunlight.
- If the grinder comes with a storage box or bag, use it to keep all parts together and protected from dust.
Preventing Rust and Damage:
- Always ensure the grinder is dry before storage.
- For metal parts, consider applying a thin layer of food-grade mineral oil to prevent rusting.
By following these drying, reassembling, and storage tips, you can ensure that your old meat grinder always remains in top condition, ready for its next use.
Common Mistakes to Avoid
While cleaning a meat grinder might seem straightforward, there are common pitfalls that many individuals fall into. Being aware of these can save you from potential damage to your grinder and ensure its longevity:
Not Cleaning Immediately After Use:
- Meat residues can quickly dry up and become hard to remove if left unattended. This not only makes the cleaning process more challenging but can also lead to bacterial growth.
Using Harsh Chemicals or Abrasive Materials:
- While it might be tempting to use strong cleaning agents or abrasive scrubbers to remove stubborn residues, these can damage the grinder's parts, especially if they're made of sensitive materials like aluminum.
Not Drying Parts Properly:
- Leaving meat grinder parts wet or damp can lead to rust, especially for metal components. Always ensure each part is thoroughly dried before storage.
Advanced Cleaning Tips
For those who use their own meat grinders frequently or have specific models, here are some advanced cleaning tips to consider:
- Cleaning an Aluminum Meat Grinder:
- Aluminum is prone to discoloration if exposed to acidic or alkaline substances. Use a mild detergent and avoid harsh chemicals. After cleaning, you can restore its shine by rubbing it with a cloth dipped in white vinegar.
- Dealing with Stubborn Residues:
- For dried-up meat residues, consider soaking the parts in warm soapy water for a few hours before scrubbing. This softens the residues, making them easier to remove.
- Safe Products to Use for Cleaning:
- Opt for food-grade cleaning agents, especially if you're unsure about the materials of your grinder. Natural cleaners like baking soda and lemon can be effective for removing stains and odors without causing harm.
By being aware of common mistakes and employing advanced cleaning techniques, you can ensure that your meat grinder remains in pristine condition, ready to deliver perfectly ground meat every time.
Are you in the market for a new quality meat grinder? Check out our article for our top picks.

Maintenance and Care
Beyond cleaning, a meat grinder requires regular maintenance to ensure its optimal performance and longevity:
- Sharpening the Blades:
- Over time, the blades of the grinder can become dull, affecting its efficiency. It's essential to sharpen them periodically using a sharpening stone or by seeking professional services. Sharp blades ensure consistent and smooth grinding.
- Lubricating Moving Parts:
- To prevent friction and wear, lubricate the moving parts of the grinder. Use food-grade mineral oil or grease to ensure safety and prevent contamination.
- Periodic Checks for Wear and Tear:
- Regularly inspect your grinder for any signs of damage, such as cracks, rust, or loose parts. Addressing these issues promptly can prevent more significant problems in the future.
- Grind cold meat as it makes clean up easier and keeps its shape better than room temperature meat.
Conclusion
The meticulous care and maintenance of a meat grinder are paramount for its optimal performance and longevity.
Regular cleaning is not just a routine task to keep your meat grinder clean, but a crucial step to prevent bacterial growth and ensure the quality of the meat remains uncompromised.
Beyond the immediate cleaning process, it's essential to adopt a proactive approach towards the grinder's maintenance.
By sharpening its blades, lubricating its moving parts, and conducting periodic checks for wear and tear, you can ensure its efficient operation for years to come.
Let this guide serve as a reminder of the importance of regular maintenance and the benefits it brings to your culinary endeavors.